Using Store Fresh Produces Herb Cuttings to Start Your Own Herb Garden!
I have always been a fan of cooking with fresh herbs, nothing is like the aromas and flavors of fresh herbs and spices filling the home! But I had always believed it to be costly and if my budget allowed me to buy fresh herbs from the produce section, I ended up throwing a third to half of them out because I couldn’t use it all before it went bad. And if you’re a natural budget conscience person like me, you can’t stand to waste anything, especially in the kitchen! And buying herb plants from a store, aren’t cheap nor 100 % guarantee to survive much less flourish all year round.
You Don't Have to be Rich to Eat Good!!

I am here to pass along a little trick I have learn over the years that has saved me so much time and money, and we won’t even mention the amount of sanity as well. I have been using this trick since I learned I was gifted with a green thumb (I was well into my thirties). I literally have had a full garden in my 4 bedrooms, 1 bath second floor apartment. You would be amazed like so many others when they have seen what I have proven is possible living in tiny spaces, and horrible lighting, lol. And I will be the first to admit, not all of my experiments have been successful. But for the ones that have, man I am glad I took the time and effort to try every last one of them. During a really tight spot in the not so distant past, I was still getting my 2nd degree, on a 5 figure income, while raising and homeschooling my 2 youngest kids. Money was tight, but with a little experimentation and determination I was able to feed my kids healthy and great food, something I have always pride myself on.
I digress, that is all a story for another time. Now back to the topic at hand. Fresh herbs, low cost, and a little DIYing is all it takes to cooking with fresh herbs all year round. All you need is a trip to your local grocery store, clear glass containers (old condiment jars work great!), H2O, and a window seal that lets in at least 6-8 hours of sunshine to get started. And later when it is time (can be anywhere from 2-4 weeks) all you’ll need to get is soil and pot, if you don’t have them already.
Let’s Get Your Cheap Indoor Herb Garden Started!
I have learned that if it is somewhat fresh, you can pretty much grow anything from a cutting or root. I have done so countless times, but don’t take my word for it, try it yourself!
Go to your local grocery store or farmers market. (I am in NC and I use our local store chain ‘Foodlion”.)
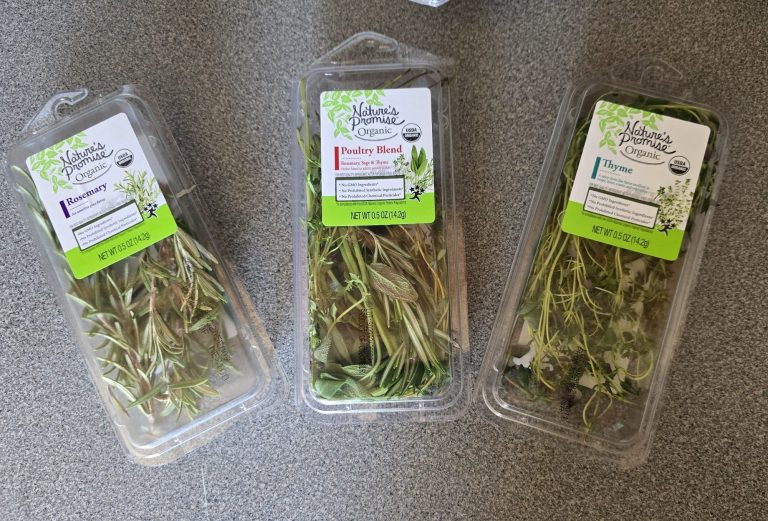
Go into the fresh Produce section, or like where the fresh fruits and vegetables are at and look for the fresh herb cuttings. You might even already buy these same herbs to cook with. At my store they are usually in the open cooler by lettuce, bell peppers, mushrooms, etc. at the very top.
And it don’t end there…
In the produce section, you should also find Ginger root, Garlic bulbs, and any other herb/spice you like to use that is in its true form. (Not dried and/or grounded, obviously.)

Here I am just using Garlic, Sage, Rosemary, and Thyme, just for examples… But the list goes on..
For argument’s sake and not to drag this on we are going to focus on Sage, Rosemary, Thyme and Garlic.
Find your sunny window seal and set it up so it can hold your new herb plants in the glass containers safely.
We have a cat who is abnormally large and apparently a vegetarian, he eats all my plants (and there is a lot) so I have to be mindful and a little tricky setting my own up in order to keep him form eating them all.
Pick 1 -4 of your herb cutting from what you purchased whichever ones you feel is the best.
Once you get home, grab your glass containers/jars and pick which one you want to grow from your selection of herb cutting(s) you have purchased.
If you cannot start your propagating right away, don't sweat it! Store you herbs in the refrigerator as normal, but for the best results use within 2-3 days.


Not every herb will need a glass container, like garlic, ginger, and most other herbs/spices that are “bulbs”.
The “bulb” herbs just need a little dirt and an enclosed container, this could be a 20 oz soda bottle and a plate, or you can but there encloses and tiny pots from the $1 Tree.
Remove any leafage 1-2 inches from the end of your herbs stem, you should have 1-2 inches of clean stem at the bottom of your herb cutting.
The set you see here is one of the few I have accumulated over the years; I found this particular one at a local thrift shop.
These are NOT necessary but are nice to have.


Pick a jar/container that will allow your herb stems to be in the water but not too wide the whole plant falls in and fill it with tab/bottle H2O till is reaches no more than a 1 “inch of the herbs stem when placed in the mouth of the jar/container.


Now for your “root” herbs, the ones that grow underground, like garlic and ginger.
Same concept except with soil. Everything you see here (except for the garlic bulb) came from the $1 Tree.
- I use the taller ones for long stemmed herbs like sage, thyme and rosemary. I use the shorter ones for the shorter stemmed herbs like as you can see basils.
This particular basil has been propagating for about 2 weeks and is ready for planting.
Make Sure to clean your garlic of the paper like outer skin, so it is just the bare clove.
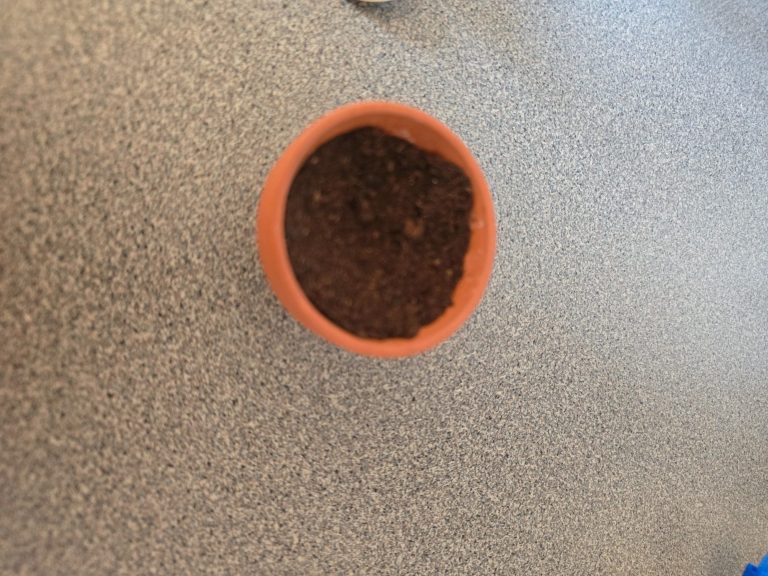
Put a small amount of soil in a small pot. Then just place your bulb herb (in this case, garlic) on top of the soil.

Do not bury you bulb, but just snuggle the end that detaches from the bulb into your soil.
Make sure to DAMP not soak your soil.
Once you have gotten your bulb herb snuggled in soil and the soil is damp, place it on a plate (if you have one of the containers shown, place the plant on the platform and just cover with the dome piece).


If using A soda bottle, which I did for many many years before I found these little gems! They work the exact same way.
Making sure your soda bottle is not too big (a 20 oz in this case would work fine) or too small cut off about 1 inch of the BOTTOM of the bottle. With the cap on the bottle and the bottom cut off, cover your herb bulb on a plate with the bottle like a dome.
Place anywhere where there is a significant amount of sunlight.
Check the moister level every few days, do no over water, you just want the soil damp not soaked.
And if using the doom, you notice that you rarely have to water, that is completely normal. These domes act like a tiny green house and trap their own moister a lot of the time.
Once your roots are at least 2 inches long, just transfer your cuttings to a pot with soil and maintain their sunlight and you should be good to go.
I have also used herbs while still in the propagation process, clip a leaf here and there to use on a dish and it still kept on growing. Just do not overdo it.
Also, be sure to check for any major drafts from your windows, even a big and cold enough draft can kill your herbs.
And lastly, if you want to replant your herbs outside in the spring, they should do just fine as long as you plant them once the weather is warm again. If you plant too soon after the last frost, the sudden change in temp can kill a plant quick.
I will be adding on to this article as my own herb propagating progresses, so keep checking in for updates, pictures and many other tricks or tips.

©Copyright. All rights reserved.
We need your consent to load the translations
We use a third-party service to translate the website content that may collect data about your activity. Please review the details in the privacy policy and accept the service to view the translations.